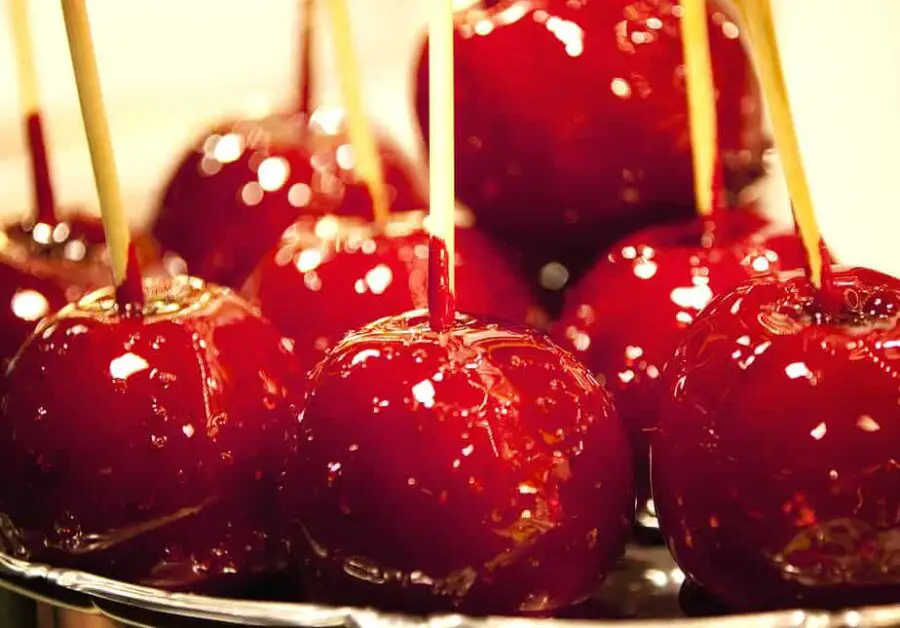
Love candy apples?
Sure you do. Would you be here otherwise?
No!
So, do you ever find yourself with leftover candy apples that you don’t want to go to waste?
Maybe you can freeze them, what do you think?
The answer is yes, but there are some things you need to know before you do.
Keep reading to find out everything you need to know about freezing candy apples!
Why Freeze Candy Apples?
Freezing candy apples is a great way to extend their shelf life and enjoy them later. This is especially useful if you have leftover candy apples from a party or event, or if you want to make a large batch of candy apples in advance. By freezing them, you can enjoy them at a later time without sacrificing their flavor or texture.
How to Freeze Candy Apples?
Freezing candy apples is a great way to preserve their freshness and enjoy them later. However, it’s important to follow some essential steps to ensure that the apples are stored properly.
Make Sure Your Apples Are Cooled Down
Before freezing your candy apples, it’s important to make sure they have cooled down completely. This is to prevent any moisture from building up inside the packaging and causing the candy coating to become soft or sticky. Once your candy apples have cooled down completely, you can proceed with packaging them for freezing.
Wrap Your Apples
After your candy apples have completely cooled down, it’s important to wrap each apple individually in plastic wrap or aluminum foil before freezing. This helps to prevent freezer burn and maintain their freshness. Additionally, wrapping them individually makes it easier to take out just one or two apples at a time, instead of having to thaw the entire batch. So take the extra step to wrap them up individually, and you’ll be rewarded with delicious, fresh candy apples whenever you want them.
Extra Protection for Frozen Candy Apples
To provide extra protection for your frozen candy apples, consider placing the individually wrapped apples in a resealable plastic bag or airtight container. This helps to further prevent freezer burn and keep the apples fresh for a longer period of time. Plus, it makes it easier to organize and store them in your freezer.
Freezing Large Batches of Candy Apples
If you’re freezing a large batch of candy apples, it’s a good idea to place them in a single layer on a baking sheet before wrapping them up and putting them in the freezer. This helps to ensure that they freeze evenly and don’t stick together. Simply lay the wrapped candy apples out on the baking sheet, making sure they’re not touching each other, and put them in the freezer for a few hours until they’re completely solid.
Storing Frozen Candy Apples
Once your candy apples are frozen solid, it’s time to transfer them to a resealable plastic bag or airtight container for longer-term storage. This step helps to protect the frozen apples from any potential damage or freezer burn. Be sure to label the container or bag with the date of freezing, so you can keep track of their freshness.
Preserving Candy Apple Flavor and Texture
In addition to preserving the quality of your candy apples, proper freezing and storage techniques can also help you make the most of your batch. Freezing candy apples is an excellent way to extend their shelf life and enjoy them later, whether you have leftover candy apples from a party or event or want to make a large batch in advance.
By taking the time to properly freeze and store your candy apples, you can enjoy them long after they’re made. By following these tips, you can preserve the texture and flavor of your candy apples and indulge in this sweet treat whenever you like.
| Step | Purpose | Method |
|---|---|---|
| 1. Cool down the apples | Prevent moisture build-up inside packaging | Allow the apples to cool down completely before wrapping. |
| 2. Wrap the apples | Prevent freezer burn and maintain freshness | Wrap each apple individually in plastic wrap or aluminum foil. |
| 3. Provide extra protection | Further prevent freezer burn and maintain freshness | Place the individually wrapped apples in a resealable plastic bag or airtight container. |
| 4. Freeze in a single layer | Ensure even freezing and prevent sticking | Place the wrapped candy apples on a baking sheet in a single layer before putting them in the freezer. |
| 5. Transfer to a container or bag | Protect the frozen apples from damage or freezer burn | Transfer the frozen candy apples to a resealable plastic bag or airtight container, and label it with the date of freezing. |
How to Thaw Frozen Candy Apples?
Are you ready to savor those frozen delights? Just hold your horses for a sec and make sure you thaw them the right way. Let’s find out how!
Proper Thawing Is Important
When it comes to enjoying your frozen candy apples, proper thawing is crucial. Improper thawing can result in a mushy, unappetizing mess that doesn’t do justice to the deliciousness of candy apples.
Gradual Thawing Works Best
When it comes to thawing frozen candy apples, the best and most effective way is to let them sit at room temperature for a few hours. This gradual thawing process will ensure that the candy coating retains its crispness and that the apple inside remains juicy and flavorful.
Avoid Thawing Shortcuts
While it may be tempting to use a shortcut like microwaving or thawing your frozen candy apples in hot water, this can actually ruin their texture and make the candy coating sticky. Microwaving or exposing the candy apples to hot water can cause the moisture in the candy coating to evaporate too quickly, resulting in a sticky and unappetizing mess. This can also cause the apple inside to become mushy and lose its flavor.
Enjoy Your Sweet Treat!
Once your frozen candy apples have been properly thawed, get ready to sink your teeth into their sweet, crunchy deliciousness! Thawing them properly will ensure that the candy coating remains crisp and the apple inside remains juicy and flavorful.
Remember, whatever you do, resist the temptation to nuke them in the microwave or dunk them in hot water, as that can turn the candy coating into a gooey mess.
Trust me, you don’t want that!
So go ahead and let them thaw out naturally, and get ready to sink your teeth into some sweet, crunchy goodness!
| Step | Purpose | Method |
|---|---|---|
| 1. Proper Thawing | Retain texture and flavor | Gradually thaw at room temperature for a few hours. |
| 2. Avoid Thawing Shortcuts | Retain texture and flavor | Avoid microwaving or thawing in hot water, as this can make the candy coating sticky and the apple inside mushy. |
| 3. Enjoy Your Sweet Treat | Savor the deliciousness | Once thawed, the candy coating will be crisp and the apple inside will be juicy and flavorful. Resist the temptation to use shortcuts. |

Hi, I’m Jenny. I have many interests and, some would say, eclectic passions. A few words that best describe me? Hmm, well… Amateur surfer, professional traveler, food lover and writer extraordinaire. Oh, and lover of all furry, four-legged creatures!