I grew up in a part of the country where rosettes weren’t something we traditionally ate during the holiday season. It wasn’t until I was much older that I realized what I’d been missing during my childhood.
If you’ve never tasted a rosette, then you don’t know what you’re missing. The light, crispy delicate crunch dusted with a festive shake of powdered sugar is enough to put a smile on the Bah Humbuggiest among us!
Rosettes are Scandinavian in origin and made their way to the United States thanks to the settlers who came here from countries like Sweden, Denmark and Finland.
Not only are they delicious but they’re a breeze to make thanks to an ingenious tool created specifically for the purpose. To the uninitiated, they might look a little strange but rosette irons are a must if you want that perfect, delectable goodness but what are they exactly?
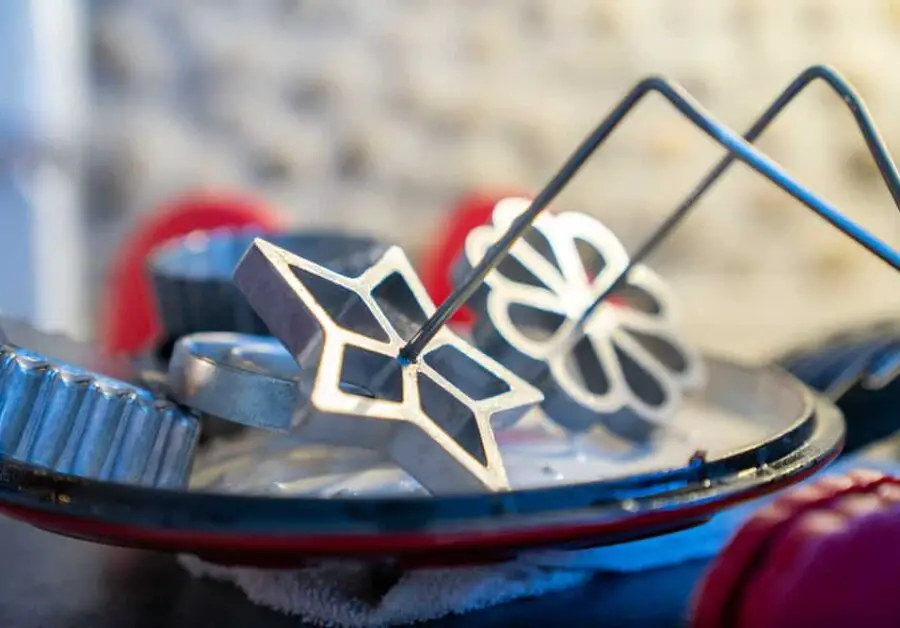
A rosette iron is a baking tool usually made of cast iron featuring a long handle and a festive design (think Christmas cookie shapes) attached to the dipping end of it.
How Do You Use a Rosette Iron?
Holding the handle, you dip the design shape into heated oil where it’s heated before transferring it to a waiting bowl of batter. After the iron is dipped into the batter, it’s removed once more and returned to the oil where the batter will crisp up at which point, the batter is removed from the iron.
Even though rosettes are simple to make and lots of fun around the holidays, you might encounter some “sticking points”.
No pun intended!
If you do not to worry, we’ve got a few tips that can help you out and have you cranking out these delectable delights in no time – hopefully much faster than your friends or family scarf them down!
| Step | Action |
|---|---|
| 1 | Heat the iron by immersing the design shape in hot oil using the handle |
| 2 | Dip the heated iron into a bowl of batter, then remove it |
| 3 | Repeat the process by returning the iron to the oil to crisp up the batter |
| 4 | Take out the batter from the iron |
Why Are My Rosettes Sticking to the Iron?
There are three possible reasons why your rosettes are sticking to the iron.
Reason #1 – The Shape of Your Rosette Iron Might Be Too Ornate
The first reason your rosettes might stick is that the design of the rosette iron might be too intricate for your cookie batter, causing it to adhere to the surface. If you have the option, try to select simpler shapes as opposed to highly detailed such as snowflakes, trees, angels and the like. Basic star-shaped or circular rosette irons are good alternatives.
Reason #2 – The Rosette Iron Is Covered With Old Batter
The second reason might sound obvious but you’ll want to be sure that there isn’t any old or dried up batter on the irons. If there is, be sure and clean it thoroughly and then try again.
Reason #3 – The Rosette Iron Isn’t Seasoned
So, if you’re certain the iron is scrubbed free of old batter and you don’t want to give up on the design you had in mind, then the third reason your rosettes might stick is that you haven’t properly seasoned your rosette iron.
We’ll touch on that next.
| Reason | Description |
|---|---|
| 1 | The shape of the rosette iron might be too intricate for the cookie batter, causing it to adhere to the surface. Try to select simpler shapes instead of highly detailed ones. |
| 2 | Old or dried up batter on the iron. Clean it thoroughly before trying again. |
| 3 | The rosette iron hasn’t been seasoned properly. |
How Do You Season a Rosette Iron?
If you’ve ever owned a cast iron pan or skillet, the process of seasoning it prior to use will be familiar to you and that’s exactly what you’ll need to do with your new (or vintage) rosette irons as well.
To season your rosette irons, you’ll need to select an oil or fat with a high smoke point. Smoke point is the temperature at which the oil or fat you’ve chosen will produce an easily visible smoke which is what you want to avoid when seasoning your rosette irons.
The easiest option you might consider would be vegetable oil since most kitchens will have some on hand. You’ll need to select a pot or pan that gives you the ability to submerge the design portion of the rosette iron in the oil.
Heat the oil to 350 – 375 degrees and then carefully lower the rosette irons in the liquid. Allow them to remain submerged for about 20 minutes and then remove the irons. Transfer them to a paper-towel lined sheet or pan so they can cool. Once they have reached room temperature, they can be handled safely.
In the future, you should have an easier time since once the rosette irons have been properly seasoned, they will require less time in oil before being transferred over to the cookie batter.
| Step | Action |
|---|---|
| 1 | Choose an oil or fat with a high smoke point, like vegetable oil. |
| 2 | Heat the oil to a temperature between 350 – 375 degrees Fahrenheit. |
| 3 | Slowly submerge the rosette irons in the oil for about 20 minutes. |
| 4 | Take out the irons and let them cool on a paper towel-lined sheet or pan. |
| 5 | Once cooled, the irons are ready to use. |
My Rosette Batter Won’t Stick to the Iron
Sometimes, you might run into a situation where the batter for your rosette cookies will not stick to the iron. What makes this even more frustrating is that it can often happen when you’re right in the middle of making a fresh batch.
There are a couple of things you could try to fix this.
Tip #1 – Soak the Rosette Irons in Ammonia
If your rosette irons are older and sometimes, even if you’ve cleaned off dried up batter, the irons might still have some buildup which, while not easily visible, can still prevent the batter from sticking.
To fix this, simple soak your irons in ammonia for a few hours and then gently scrub the surface to remove any visible patina that remains.
Tip #2 – Heat the Oil More or Leave the Rosette Irons in Longer
Unlike the previous tip, this one takes a bit of trial and error.
But, if you’re using new irons, and you’ve seasoned them, the chances are good that they just aren’t getting hot enough to allow the batter to stick.
If you’ve found yourself in this situation, try gradually heating the oil or leaving the irons in for a longer period of time until the batter sticks to your liking.
| Problem | Solution |
|---|---|
| Rosette irons have buildup that prevents the batter from sticking | Soak the irons in ammonia for a few hours and gently scrub the surface to remove any visible patina that remains. |
| Irons are not getting hot enough to allow the batter to stick | Gradually heat the oil or leave the irons in for a longer period of time until the batter sticks to your liking. |

Hey there, I’m Melody! I’m a lifelong foodie and love talking about it to anyone who’s willing to listen (or read!) about my opinions. My favorite pastimes include cooking, eating my cooking and thinking about what I’m going to make next!